
And now, for the fun part
You get to stretch your legs and apply everything you’ve learned and observed so far!
it’s time to MAKE SOME ART!!
We will be making Notan, which is the Japanese term for “light - dark” in design.
Similar to the design element of positive/negative space.

Get out your supplies!!
Cut your paper square
Measure out a 4” x 4” square with your ruler and mark it with a pencil
Cut along the lines you made to create a 4” x 4” square

ruler-
pencil-
scissors-
glue-
paper
make sure you have two different colors of paper

Draw designs along the edges of the square.
Anything you like!!
Make sure your shapes start and stop on the same side. And keep them simple! You will be cutting every line that you draw.


Once you are done drawing your designs, cut them out. But make sure you keep the pieces you are cutting out!
Set those aside.


Once you finish cutting your designs, glue your paper to the center of another piece of paper
(use two different paper colors).

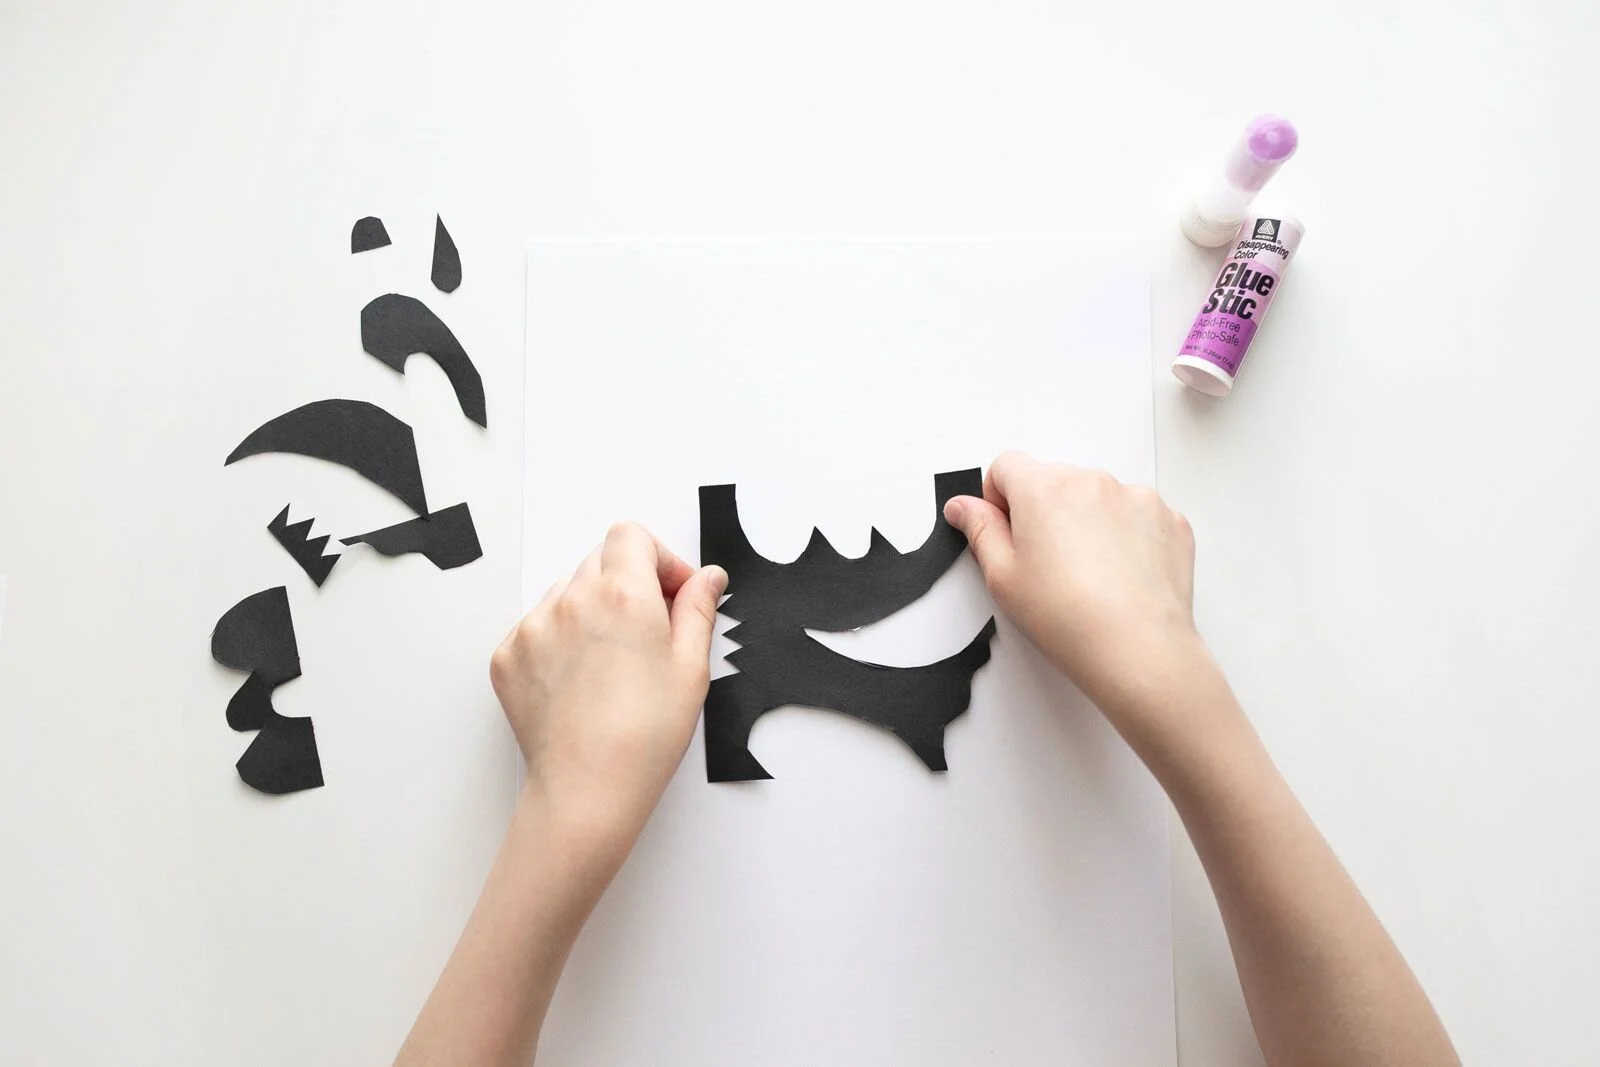
Grab those pieces that you cut out before and line them up with the spots they were cut from. Now glue those down. Your art should look as if you cut your designs out and flipped them over, to the other side.


Now, look at your art!
Think about positive and negative space while you analyze the objects in your image.
Write down any of your observations in your photography journal, or on the back of your artwork!